

Tip: Get in the habit of working clock-wise or anti-clockwise when cleaning/retouching.
How to Photograph Watches [10 Tips and Tricks]
For those that have tried – knowing how to photograph watches, or any highly reflective object can be extremely challenging for even the most seasoned watch photographer. That being said, it can also be one of the most rewarding experiences you’ll have with a product in front of your camera. Having the ability to read and understand light; how it reflects, reacts and speaks to your product will ultimately provide you with the ability to create truly stunning creative watch photography and overcome even the most complex of products.
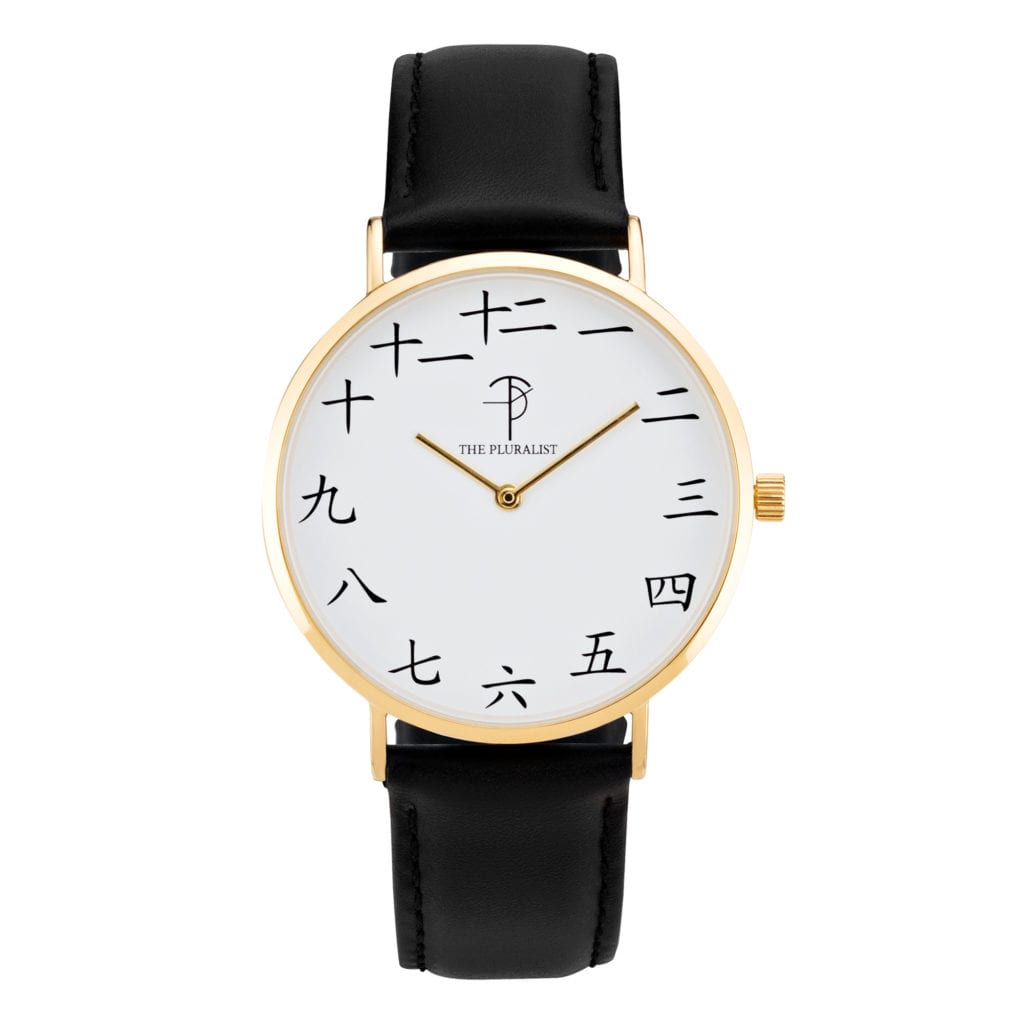
Recently, we took a rather simple watch photo for The Pluralist for use in e-commerce, catalog and advertising work. The brief was pretty straight forward. Provide a beautifully lit watch with a knocked out (etched) background for use in future composites.
Want to know the best part?
We wanted to take this opportunity to show you how to photograph watches more effectively with these 10 tips and tricks. These will help you overcome particular hurdles when working with watches and things to look out for along the way.
[clickToTweet tweet=”Use these tips and tricks to improve your Watch Photography — https://goo.gl/wjH1H3″ quote=”Tweet these Watch Photography Tips and Tricks” theme=”style3″]
-
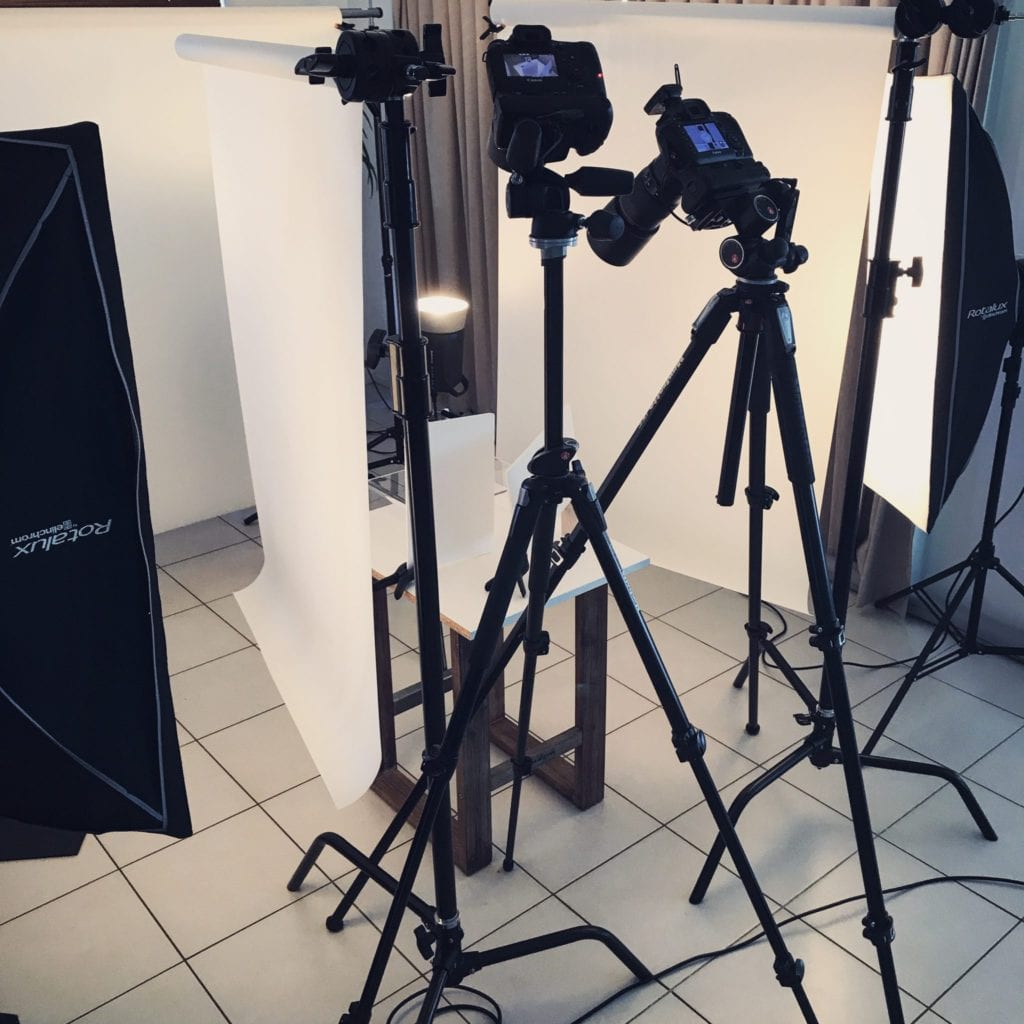
Stabilisation / Tripod / Camera Stand
When photographing watches, or any product for that matter – it’s absolutely essential to have a sturdy tripod setup. This helps with a number of things. Firstly, it keeps your camera still, minimizes camera shake (more on this shortly) and also allows you to take multiple frames without having to worry about your camera moving. If sky’s the limit when it comes to budget, you can’t go past an actual camera stand like the Cambo MBX Mid-range stand. These things are rock solid and no amount of bumping will move your camera once it’s fixed in place. Keep in mind though, that camera stands very rarely leave the studio. They’re big, extremely heavy and cost a small fortune. For the masses however, a solid tripod will do the trick. My personal favourites are the Manfrotto 055 series and it’s bigger brother, the 058b Studio Tripod.
-
Mirror Lock-up / Remote Shooting
Having a solid foundation for your camera is a good start, but you might look at your images on the computer screen and still notice they’re not quite tack sharp. This could be caused by vibrations from the mirror slapping up and out of the way as the photo is exposed onto the sensor. There’s a couple of ways we can tackle this when you setup for watch photography. Firstly – most DSLR’s will have a mirror lock-up function under their settings, by enabling this – you instruct the camera to lock the mirror up out of the way before taking the photo. This allows the vibrations from the mirror moving to settle before the image is captured, thus resulting in a sharper overall image. By pairing this feature with a remote shutter release, you can completely remove the human error factor when taking your photo. You can read more about the mirror lock-up feature in this great article published over at SLR Lounge.
-
10, 2 and 7 – The perfect hand placement
Look in any watch catalogue, magazine or advertisement and you’ll find the hands are almost always positioned at 10 and 2. The second hand is usually positioned at the 7 position. These small details are often overlooked when photographing a watch and there’s a very good reason that they’re set this way. It frames the watch nicely and allows the viewer to take in the most important features of the watch. These are usually the logo – positioned top-center, the date – positioned to the right, and in some watch designs, the chronographs. Get into the habit of setting this time on your watches before even setting them in the studio.
-
Cleaning the Watch
Lighting a watch, or any reflective object in a studio environment shows absolutely every mark, scratch, smudge and blemish. It’s a good idea to wear some soft gloves when handling watches to avoid oily fingerprints. Our watches go through a rigorous clean before getting placed in front of the camera – even if they’re brand new and out of the box. A combination of microfiber cleaning cloths and compressed air will usually do the job perfectly. Both of which can be purchased fairly cheaply.
-
Watch Photography Lighting Complications
This is where the real finesse comes into play. Lighting a watch can be very tricky and will take some time and practice for you to get a consistent result that defines your style as a photographer. One of the biggest challenges when lighting a watch, is getting large glare spots on the face. Particularly when photographing the watch straight-on. A couple of ways to remedy this is by using polarizing gel to kill the reflection, or positioning your light(s) so that the watch is being lit indirectly. Indirect light can produce very nice results when dealing with reflective watches and jewelry. You’re mileage may vary, but I encourage you to continue experimenting with different light sources, modifiers and positioning to see what results they produce.
-
Focus Stacking
In summary, focus stacking essentially works by taking a number of images at different focal lengths and merging them together to produce one, tack sharp image. Focus stacking is almost always used in macro and jewelry photography, particularly when shooting with a lens like the Canon 100mm f/2.8 L Macro. Due to the 1:1 magnification ratio on the aforementioned lens, it has an incredibly shallow depth-of-field. Even when using a tiny aperture like f/16 or f/22. To combat this, photographers can use a macro focusing rail, or a series of very small adjustments to the focus ring while simultaneously taking photos. On average, our basic catalogue photos are a series of ~6 stacked images. You can read more about Focus Stacking on Wikipedia.
-
Fill cards
Fill cards, bounce cards, whatever you’d like to call them – they’re a product photographers best friend and probably the most used tool in our studio. They’re inexpensive, extremely versatile and can be applied in so many applications. We tend to use foam core boards as they are a bit more robust and stable, however you can use standard printing paper if you wanted. Anything white that can bounce and reflect light will do the job. The fill cards purpose is to be placed in and around products to bounce light back into specific areas. Similarly, like fill cards – you can also use black cards to cut out light from areas, cast shadows and shape light. You can buy foam core at any arts and crafts store, and they’re usually as cheap as $0.50 a sheet.
-
Manual (M) Shooting and RAW
It should go without saying that when photographing products using artificial studio strobes or continuous lighting, you’re going to get a lot more control when shooting in Manual Mode. This will allow you to independently control your ISO, Shutter speed, and Aperture. Having you file format set to RAW ensures that every detail is captured in the file. This means you can recover details from shadows and blacks. You’ll also have a lot more control of post production in Adobe Lightroom or Capture One like exposure adjustment, white balance and other tonality adjustments before exporting to Photoshop. Don’t forget, you can customize the look of lightroom with your own business logo.
-
Colour Accuracy
While this isn’t a huge issue with watches as the majority are often silver or gold, it’s a good habit to get in to when photographing products of any description. Let’s use Coca-Cola as an example. The Coca-Cola red is CMYK: 0, 88, 90, 7. If we’re photographing a Coke product in the studio, and the red is reproduced as a different CMYK value, we’ve missed the brief and the image can’t be used. While we could go and fix it up in post production – it’s much easier to get it corrected at the beginning. This is where a tool like the Xrite Color Checker Passport comes into play. You drop it in with your first frame, and then remove it. Once your set of images have been taken – you can easily sync your white balance and colour adjustments to ensure colours are being reproduced accurately. Don’t forget, it also helps to have colour calibrated monitors too!
-
Practice makes Perfect
Unfortunately, all watches are pretty different. One lighting setup you might have absolutely nailed down for a particular watch may need to be completely different for the next watch you have lined up. It’s all about practice and it’s all about understanding how light reacts and refracts in relation to the product and your camera lens. Don’t be afraid to take a whole day to just play around with lighting schematics, modifiers and positioning to see what results you can produce.
2 Comments
Hey Blake,
I own a watch company and we are struggling with product photography. The piece of equipment we can’t seem to find is what to put the watch ON to get that photo you posted at the end. Any tips?
Thank you!
Hi Samantha,
Thanks for stopping by! Great to hear from another watch company owner. There are lots of ways to tackle mounting a watch, but you need to be a little creative. You could use anything from a rigid, flexible plastic that fits inside the band and attach it to a stand. There are also lots of acrylic/perspex watch holder options you could look for on eBay or similar. If you get stuck with product photography – do get in touch and we can see what we can do to help. I’m not sure where you are located, but we work with both national and international clients 🙂
All the best!
Blake